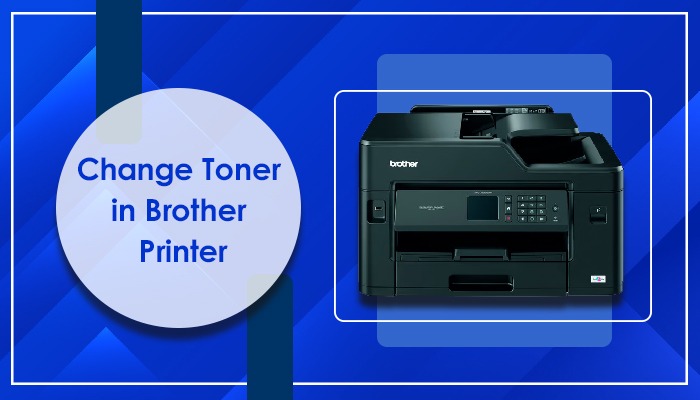

How to Change Toner in Brother Printer With Simple Steps
Changing toner in Brother Printer is essential when the toner cartridge is almost empty or going to finish soon. If you notice that your printer is not releasing color properly to meet your printing needs, the time has come to change or replace its toner. In addition, Brother Printer notifies its users to change the toner by displaying a message so that the toner is replaced on time.
Here in this blog, you can see the step-by-step procedure that will teach you how to replace the toner in Brother Printer.
How to Replace/Reset Toner in Brother Printer
Let’s understand and follow the steps to replace or install a toner cartridge in your Brother printer.
- In the beginning, power on your Brother Printer.
- Next, open the cartridge access door where the toner cartridge is installed by locating the small indents available on the front of the paper output tray.
- After that, you must remove the drum unit before changing the printer toner.
- Also, only discard the drum unit once it holds the toner cartridge.
- After this, remove the empty toner cartridge from the drum unit by pressing the green button.
- Now, unpack the toner and ensure to remove the plastic cover from it.
- Then, install and align the toner cartridge into the slot of the drum unit properly & carefully.
- Avoid touching the toner cartridge gold contact points. Otherwise, you will end up damaging the cartridge.
- After that, carefully install the drum unit and the toner cartridge into your Brother Printer.
- Also, remember to close the cover.
After following the steps mentioned above, your Brother Printer will be able to recognize the toner cartridge.
Steps to Change Toner in Brother Printer
You can reset Brother Printer toner with this step-by-step guide. All you need to do is read the process carefully. Moreover, you can also learn to change the ink of your Brother below.
Brother inkjet printers use ink cartridges for printing, and when the ink runs out, it becomes essential to change the ink.
With the given steps, you can easily change the ink of your Brother Printer, and this procedure will apply to all Brother inkjet printers.
- First, remove the ink cartridge cover and separate the protective part painted orange.
- Go to the “Lock Release Lever” and press it to release the color of the cartridge.
- Now, remove the cartridge from your Brother Printer and put it in the clean area.
- Points to be noted –
- Remember to separate placeholder plastic tabs before installing the cartridges if you have a new Brother Printer.
- Ensure to remove the old cartridge from the printer if you replace an empty ink cartridge.
- Subsequently, remove all the tapes and protective covers from your new ink cartridge.
- Also, do not touch the gold contact points & follow the color shown on display.
- Install the ink cartridge in the right slot.
- If the cartridge does not fit in the slot, find the correct slot for it.
- Continue repeating the same above steps to insert other cartridges into the printer.
- After the installation of the cartridge is completed, close the cartridge cover.
- Finally, the Brother Printer will recognize the cartridge and start printing according to your commands.
Conclusion
Have you learned to change or replace the Brother Printer toner cartridge through the procedure above? However, Brother Printer Support will give you proper guidance if you need help regarding Brother Printer toner replacement.
